
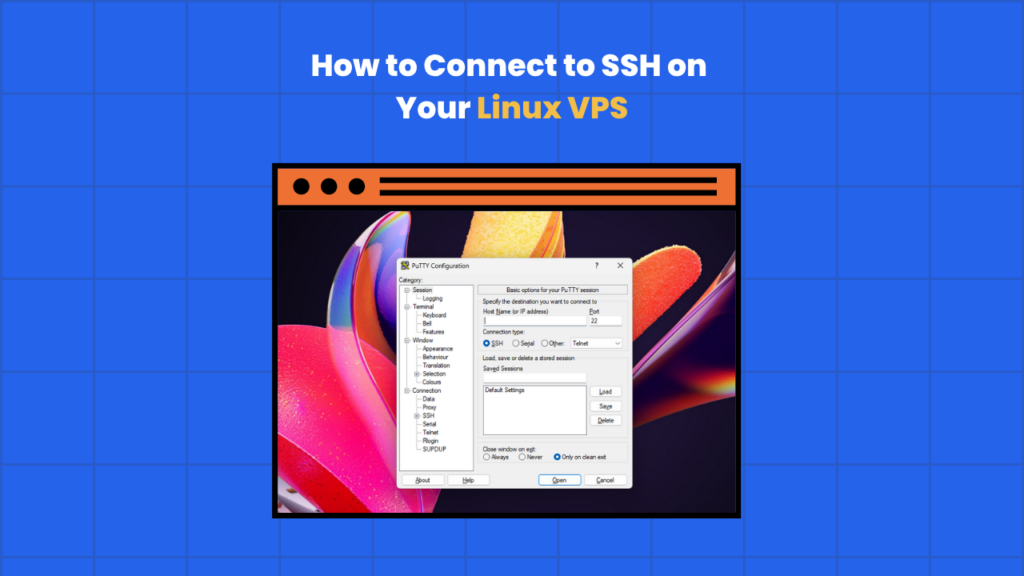
SSH is how you’ll manage a Linux VPS day to day, whether that’s installing software, configuring your server, or just checking what’s running. Here’s how to find your connection details and get logged in from a Linux or Mac machine.
What is SSH?
SSH (Secure Shell) is a protocol that lets you connect to a remote server and control it directly from a terminal. On a VPS, it’s your main way in, there’s no separate control panel sitting between you and the server unless you choose to install one yourself. Once connected, you have full command line access to manage the server as needed.
If you’re used to shared hosting and cPanel, a VPS is a different way of working. You’re not restricted to a set of preconfigured tools, but that also means more responsibility for setting things up and keeping them secure.
Finding your VPS connection details
When your VPS is provisioned, HSJ Host sends your login details by email. You’ll need three things to connect
- Your server’s IP address
- Your username (usually
rooton a freshly provisioned VPS) - Your password, or an SSH key if one was set up during provisioning
If you can’t locate this email, you can also find your server’s IP address by logging in to the client portal and checking your VPS service details.
Connecting to SSH from a Linux or Mac terminal
Both Linux and macOS come with a terminal and SSH client built in, so there’s nothing to install first.
Step 1, open your terminal
On Linux, open your terminal application. On a Mac, open Terminal from Applications, then Utilities.
Step 2, run the SSH command
Type the following, replacing the placeholders with your actual username and server IP address.
ssh [email protected]Step 3, accept the host key
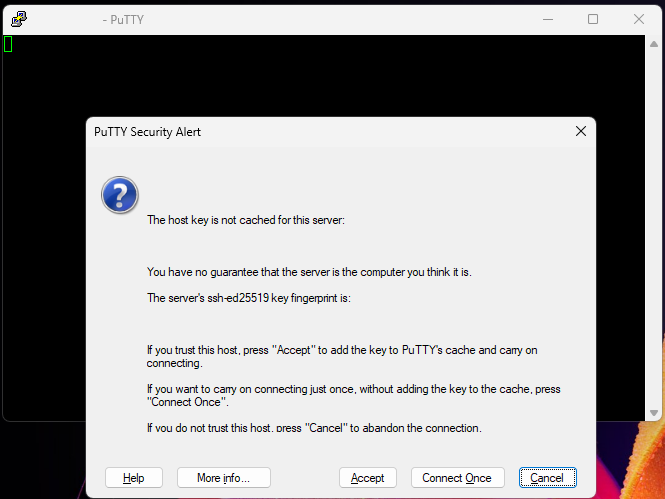
The first time you connect to a new server, you’ll see a message asking whether you trust the host, something like “The authenticity of host cannot be established.” Type yes and press enter. You won’t be asked this again for the same server.
Step 4, enter your password
You’ll be prompted for your password. Type it in and press enter, nothing will appear on screen as you type, that’s normal for terminal password fields.
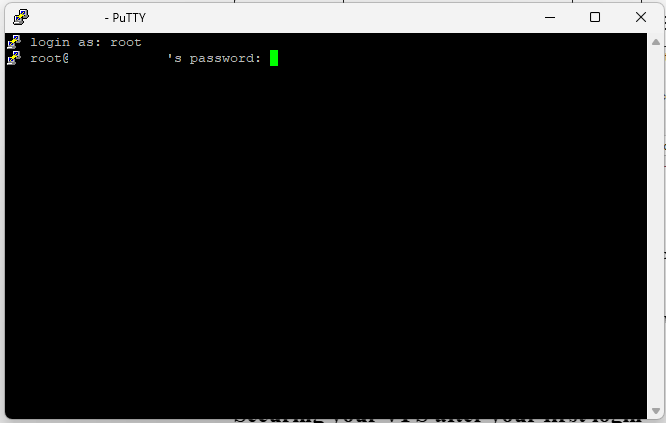
Once you’re in, you’ll see your VPS’s command prompt, and you’re ready to start managing your server.
Securing your VPS after your first login
A freshly provisioned VPS is functional but not locked down for ongoing use. Worth doing early on
- Change the root password if you haven’t already, using the
passwdcommand - Create a non-root user for day to day tasks, rather than staying logged in as root permanently
- Set up SSH keys (covered below) and consider disabling password login once they’re working
- Update your server with your distribution’s package manager, for example
apt update && apt upgradeon Ubuntu or Debian
None of this is required to get started, but it’s worth doing before the server goes anywhere near production use.
Connecting with SSH keys instead of a password
SSH keys are a more secure way to connect than a password, and they’re the standard approach for anyone managing a VPS long term.
Step 1, generate a key pair
From your terminal, run
ssh-keygen -t ed25519You’ll be asked where to save the key (the default location is fine for most people) and whether to set a passphrase, which is optional but adds an extra layer of protection.
Step 2, copy your public key to the server
The simplest way is with
ssh-copy-id [email protected]This copies your public key across and adds it to the server automatically. You’ll be asked for your password one last time to authorise it.
Step 3, connect using your key
From now on, the same connection command will use your key automatically rather than asking for a password.
ssh [email protected]Troubleshooting
I get “connection refused” when trying to connect
Double check the IP address is correct and that the VPS is actually running. If you’ve recently changed the SSH port from the default, make sure you’re including it in your command with -p.
I get “permission denied” after entering my password
Confirm you’re using the correct username and password from your provisioning email. If you’ve changed the root password since setup, make sure you’re using the current one.
My SSH key isn’t working
Check that ssh-copy-id completed without errors, and that you’re connecting with the same key pair you generated. If you set a passphrase, you’ll be asked for that each time unless you’re using an SSH agent.
The connection just hangs and doesn’t respond
This often points to a firewall or network issue rather than the server itself, some networks block outbound SSH connections. Try a different network if possible, or check with support to confirm nothing’s blocking the connection on our end.
Need a hand?
If you’re not sure where to find your VPS login details, or you’re running into issues getting connected, the HSJ Host support team is available 24/7 through the client portal or by calling 1800 519 724.